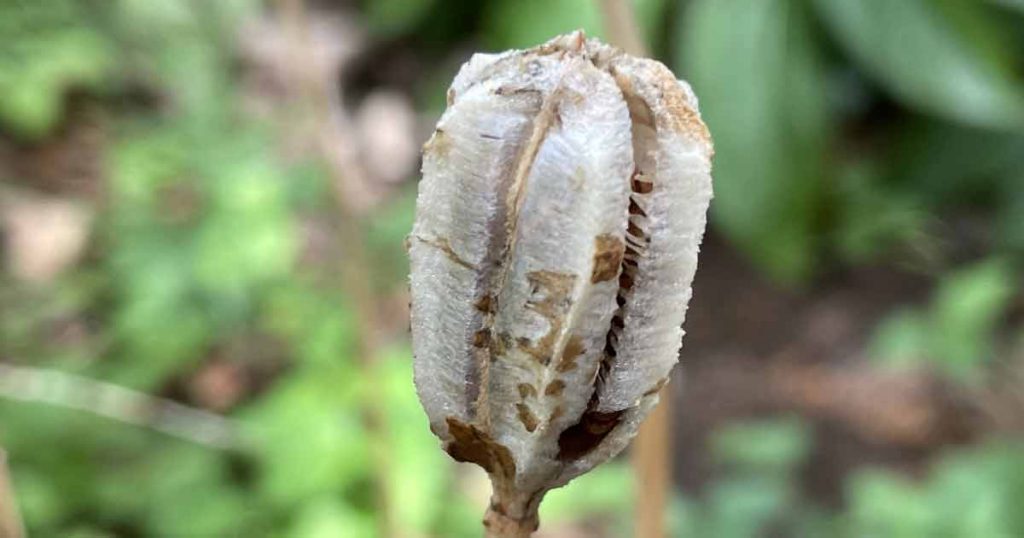
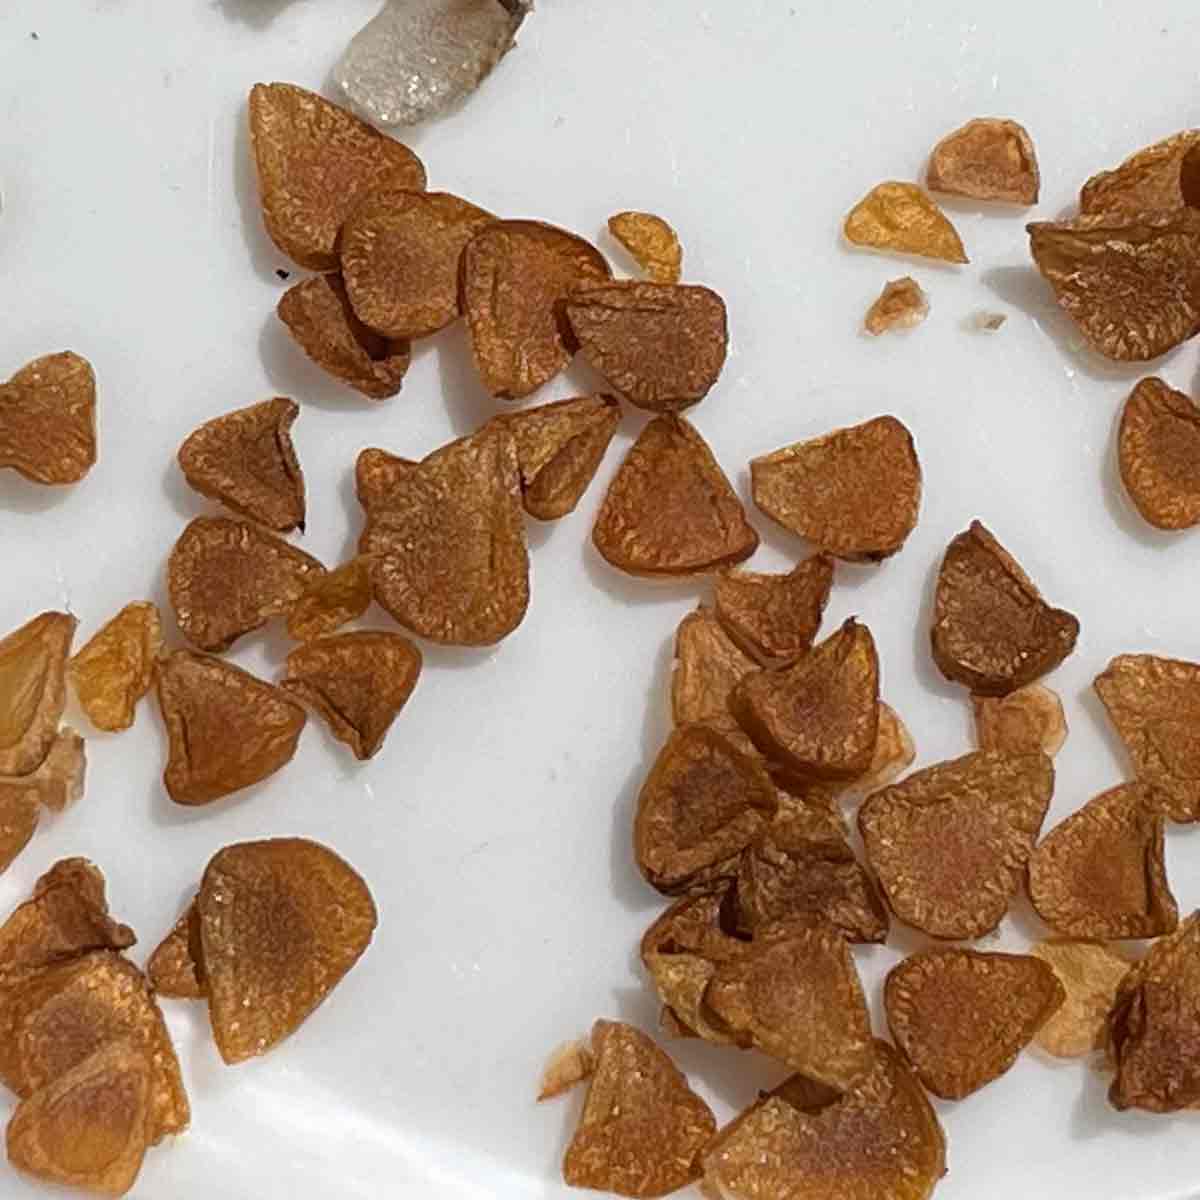
Fritillaria seeds are ready to harvest when ripe and that is in mid summer. If you are lucky enough to have flowers that have been pollinated, there is a good chance you can grow many species from seed.

You can tell when the seeds are ripe as the seed head will ‘rattle’ a little when shaken.
Fresh seeds are the best as older seeds are more difficult to germinate.
In nature the seeds are spread by wind, they have little winged keels on them and they are mostly small and actually germinate very close to the surface.
Fritillaria Seed Growing Instructions

- Make up pots of compost.
- Smooth surface and spread the seeds evenly on the compost.
- Cover the seeds with around 1/2 cm of grit or vermiculite.
- This helps retain some moisture, but also fixes the seeds in place so they don’t get blown away and also do not move when they do germinate.
- The seeds are then watered using a fine mist spray so as not to disturb them.
Stratification before growing Fritillaria From seeds
Fritillaria seeds need a cold winter to germinate well, this is called stratification
Stratification Methods
- If you live in a cold climate, you can leave the pots outside and the cold winter will help stratify the seeds readying them for germination.
- In warmer climates it is best to place the pots of seed in a refrigerator at around 4 -5 C. Check them every 2 weeks and at the first signs of germination remove them and place them in good bright even light. Seedlings usually germinate just before older bulbs begin new growth.
Seed Care after Germination
Once the seedlings show good signs of growth its time to place them in a sunny position, not really hot afternoon sun but still a good amount of direct sun.
- Water the seedlings with a liquid fertiliser every 2 weeks and keep moist at all times.
- Leave the small bulblets in place for 2-3 years until the reach a good size.
- Now its time to plant out into the garden or larger pots.
- From seed to flowering Fritillary can take 4 – 6 years.

